Oct 8 – Nov 4
So much for not waiting so long between blog posts. On the bright side, I have actually been making progress. Slow, but progress none-the-less.
After a number of delays due to on demand surprise projects and changes in plans for the plumbing so need to order and wait for more pluming parts, I am happy to announce that we have pressurized water to the 5th wheel from the 5k gallon water tank so we don’t need to spend time refilling the fresh water tank via a low flow rate due to gravity feed hose. Yay!!! The spigot currently being used for the 5th wheel is for the future garden area. I also put in 2 spigots over by the RV parking area for both the travel trailer and the 5th wheel. I also added plans to run water to the site I plan to build a combined compost, storage, workshop, and tractor parking building. Unfortunately that was a recent add so I’ll need to dig trench for that line later.
Here are a few pictures from the plumbing project.
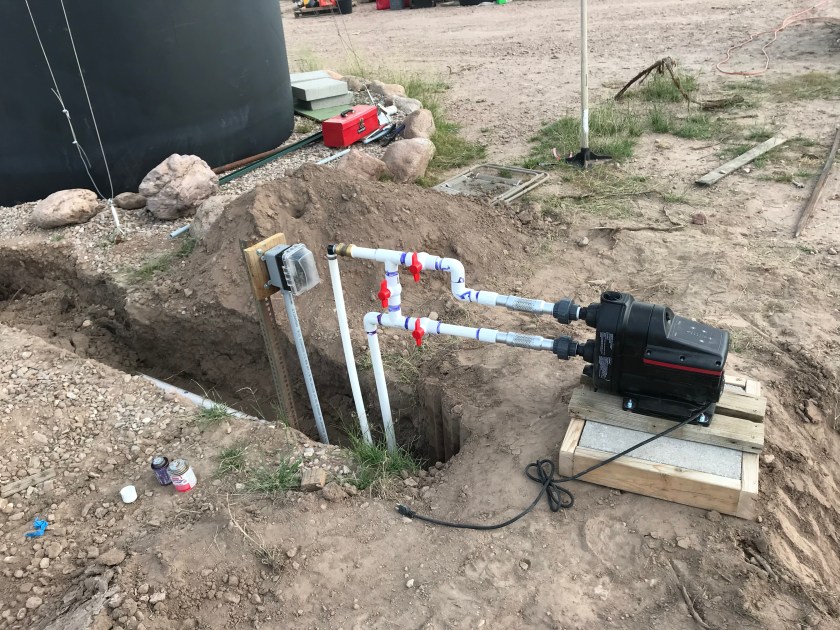
My goal was to have pressurized water to the trailer before November. I made it… Sort of. I finished making all the connections on Oct 29 and pressure tested the system Oct 30. Three leaks. All three were expected. I realized as I did it, I over tightened a threaded 2″ PVC to galvanized pipe connection. I kept moving on with the plumbing of the system hoping it wouldn’t leak. I’ve never had an issue with glue joints in my plumbing projects until now. As soon as I glued these two particular pieces together I knew it would leak. I was unable to get them together properly after applying the glue. They were the last two pieces that needed to go together, they were large (10′ 2″ PVC that was connected via plumbing to the tank and a 3′ 2″ PVC section), and I was unable to maneuver them into a better position while working in the 2′ deep trench to force them together. The third leak was with a garden host that I had to use crescent wrenches to remove the hose shutoff valve that I put on in the spring. Seems that I damaged the connector/hose in the process. I used a different hose to resolve that leak. Both of the other two leaks were really slow, on the tank side of the pump so there was minimal water pressure. Because of that, I left them connected and the system pressurized so that we could have water in the 5th wheel as we had run out of water in the fresh water tank the night before. That night I ordered the necessary parts to repair the two leaks. I received the parts the next day (love that the nearest Granger’s plumbing part’s depot is in Phoenix so I get the parts the next day with standard shipping). Unfortunately, I had insomnia the night before and was in no temperament to tackle a plumbing project after work so it waited until Nov 1.
So, it has been a while since I’ve visited the kingdom of “dumb-ass-dom” so brace yourself for some chuckles. After working for paycheck I was ready to fix those leaks. I was happy that the leak around the threads of the PVC to galvanized pipe was no longer leaking. I was hopeful that would be the case although it is something I will have to keep an eye on given the difference in material and thus difference in expansion/contraction rates. That left fixing the bad glue joint. No problem. I had ordered another coupler to replace the one at that location as well as a union thinking that was my best bet to be able to successfully glue and reassemble the parts given that there wasn’t enough play in either direction of the pipe to be able to reattach them with only couplers. Step one. unplug the water pump and shut off the water lines around the pump so that water doesn’t run back from the pump direction when I cut into the PVC to replace the section of pipe around the coupler with the bad glue joint. Step two. Grab my hand hack saw to cut the pipe as I don’t want to use my electric saw as I expect water to come squirting out when I cut through the pipe wall albeit it just the water in that 2″ pipe between the tank and the pump so it should be a manageable amount of water. Step three: Start cutting. As I’m sawing away I shift around and accidentally step on the pipe at the joint. Not surprisingly, the joint gave way and water started gushing out. No big deal. I step back and wait for the pipes to empty their contents into the trench. As I’m standing there watching the water run, I start to think, gee, that is a lot more water than I expected to be in that pipe. Hmm… It it still coming out with a LOT more pressure than I would expect at this point in time. OH F*CK! I forgot to turn off the valve at the water tank. I’m draining the water tank into the trench. I make the short 10′ dash to the shutoff valve at the water tank and quickly shut off the water. Not before I have at least 10 gallons of standing water in the trench (above the level of the bottom of the pipe so I’m getting dirt and mud in my pipe. UGH… I take a deep breath, go get a 5 gallon bucket and a scoop and start bailing out the trench. I get as much of the water out of the trench as I can manage. Go ahead and get my electric saw now that the pipe has dumped it’s contents (as well as some of the contents of the tank) and cut out the desired section of pipe. See the photo below for the results.
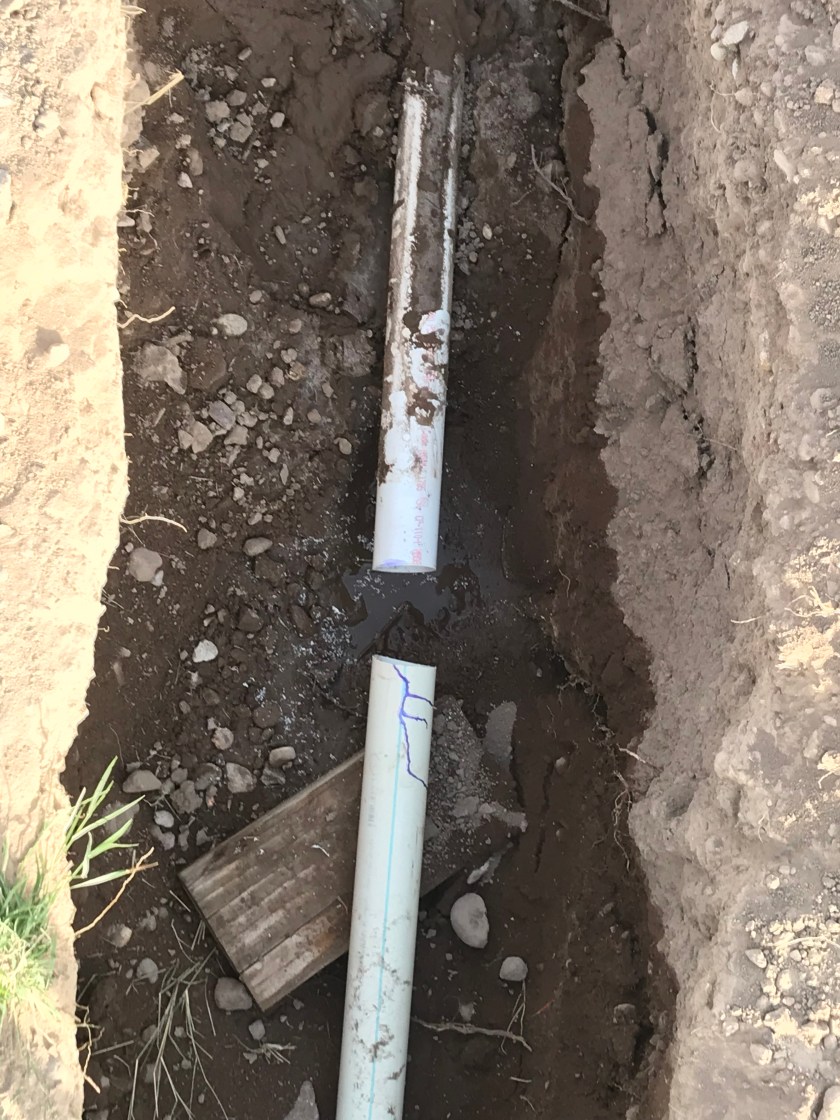
Section of PVC pipe between the tank and pump cutout to replace a bad glue joint at a coupler.
Did you know that if you combine copious amounts of water and dirt you get mud and that if you step it in within the hour you sink into it a fair bit? I was reminded of that fact.
After bailing out the water, cutting out the section, cleaning as much of the dirt from the pipe as I reasonably could, drying the pipe, I measured, calculated, pondered, and finally said screw it. Confidence shaken, I didn’t have a choice. I had to move forward with the repair. I made the cuts, glued everything together, and finally reattached everything. Success. Waited a couple hours to let the glue cure. Reopened all appropriate water valves and plugged in pump to power. No leaks. Confidence restored.

I’ve spent much of my energy the last three days separating rocks larger than a half dollar from the dirt and filling in the trench. I’ve filled in about 40′ foot of trench. probably about 10′ to grade, and 20′ or so to around 6″ below grade where I place the metal detectable buried utilities warning tape. I also placed rock along about 60′ of fence line to deter Sasha from crawling/digging under the fence. Only ~1700′ of fence line left to fill with rocks. Good thing there is no shortage of rocks around here. Although she generally stays around the trailer, she does roam outside the fence line daily.
What else to share? Have had some interesting challenges with vehicles. My truck was out of commission for 2-3 weeks. It didn’t want to start and when it did it often wouldn’t run. Often symptoms I’d seen when jumping the truck in the past where the computer was screwed up. After a few iterations of disconnecting the batteries for a period of time and then reconnecting them, to have it run that day but not the next, I decided to pull the batteries and send them to Douglas with Rachel and Cheryl on one of their grocery runs. They stopped and had them tested. Dead. Time for 2 new batteries for the truck. No problems with the truck since. Nothing a little money can’t fix, right? Next was the tractor. I’ve spent a fair bit of time digging mesquite to take advantage of the moist soil the unexpected October rains provided and to be productive while waiting for plumbing parts. One evening after work when I was digging mesquite, I felt the platform moving strangely as I was digging. So I adjusted the outrigger on the side that was weird. Something was definitely wrong. The backhoe platform was moving independently from the tractor. Hmm… Look at one side, then the other. Oh look. I’m missing two huge (1″) bolts from one side that holds the backhoe subframe together. Glance around but don’t see the bolts or nuts. Done with the back hoe work for the day. Go in, look up the specs on the parts, and start shopping. Now I’m waiting for both plumbing parts and back hoe parts. No shortage of projects that can be worked on. So next day I weed whacked with the string mower. The patchy grass is about knee high and will be more and more of a fire hazard as it dries out now that the rainy season is over. Would love to get all of it inside the fence line cut down. Not sure if that is going to happen. I started by making rounds around the fence line so I could see any snakes or other creepy crawlies while I work on filling the fence line with rocks. I cleared over an 8′ wide path before I shifted focus to the space between and around the trailers. From here out, will focus on area around trailers and solar system first and expand out from there when I weed wack. Tractor parts arrived the following week. The repair was fairly easy. The hardest part was finding the right size tools for that size nut and bolt. Thankfully I had a crescent wrench that would fit the bolt and I happened to have a very large wrench that fit the nut which was slightly smaller than the bolt head. I’ve since purchased sockets of the appropriate sizes to use to periodically tighten those bolts and nuts.
Something else that I spent a weekend on deferring some of the plumbing work was the furnace. That was an interesting exercise of marginal utility. It started getting cold at night in October. I was told unseasonably cold. So we started using the furnace. One of the things I failed to check before buying the 5th wheel. Mechanically, everything seemed to work. There was simply not much air flowing from the vents to warm up the 5th wheel. One repair was obvious and I knew about it as I had seen a large hole in the thin foil duct that runs to the bed room. I had purchase some heavier duty ducts to replace it with but as I began looking over things, I didn’t feel like I had the access needed to one end of that duct work to replace it. So I opted to patch it with some duct work foil tape. Still no go. So at this point, for what ever reason, my brain seemed to think it knew what the problem was and as such I bypassed all forms of useful and time saving troubleshooting options. The problem I envisioned: rats/mice got in and built a nest in the duct work near the furnace restricting airflow. Very reasonable theory given the hole in the vent I had to patch and horror stories I’ve heard about rats. So, it seems reasonable that I need to clean out the duct work. But how? I take apart the furnace to see where it connect into the duct. That is clear and it seems that I’ll have to access the rest from under the trailer. So, one morning I embark on the project of removing a section of 1/8″ thick plastic sheet under the trailer to access the duct work around the furnace. In all, not an overly challenging task. A bit uncomfortable working environment laying on my back on uneven piles of gravel that Sasha has formed under the trailer to suit her liking. After getting the plastic sheet unscrewed and I work on dropping it down to see what it is hiding, I find of nice pack rat’s nest complete with dead pack rat. Nice. I get that mess cleaned up and realize that there is really no access to the duct work from under there either. Unlike the tubes feeding air to the bedroom of the 5th wheel, this heat duct was much like that of a home and it ran the length of the trailer. Well crap. It is at this point, my brain decides to come back from vacation. Maybe there are some things that I could do to test/troubleshoot this in a methodical fashion. First check: Is the duct actually blocked between the vents and the trailer? I go to one end of the trailer, remove the vent, and extend a tape measure through the duct to the other end. No obstructions. Well crap. An airflow leak would explain lack of airflow into the trailer. I shoved towels at the far side of the both vents on the main floor in relation to the furnace to prevent air from blowing past the two vents. No perceivable change in the amount of air moving out of the vents. So it had to be closer to the furnace. No obvious obstructions from the fan and the fan appears to be operating properly. The furnace body itself is fairly dented and under close observation, I note many air leaks. So, out comes the foil tape and I tape over all air gaps in the heat exchange area to force more air through the ducts. I then go out and reassemble my folly under the trailer. I think the tape helped but I’m not sure if it was enough. The only thing I can think of is maybe replacing the fan. Although it appears to be operating properly, it may simply not be powerful enough to move the amount of air needed.
Now that we have pressurized water, I also decided it was time to turn on the water heater in the 5th wheel. One evening, I went out to try to get it turned on. I turned on the on switch outside but the burner wouldn’t light. After a 5 minutes or so of trying I gave up for the evening. The next day, a visit to youtube showed me the light. It never occurred to me that 1: it might also be an electric water heater, and 2: there might be another switch somewhere else (like inside the trailer in plain view next to the water pump switch). The switch on the water heater only accessible outside was to turn on the electric heating element. I wonder why the gas did’t even try to spark when I turned it on? Dumb ass. After watching the youtube video, I get up, walk over to the kitchen, flip on the hot water switch, and wha-la, I hear the hot water heater burner come on. Yay! 5k gallons of water (ok, maybe 4k gallons of water now) + water pressure + hot water = shower in the trailer. No more running to Rusty’s to shower.
Another half day project I tackled was the repair of my iPhone 7. On the way back from Michigan this summer, I dropped it a couple times and shattered the screen – even with one of those glass screen protectors on it. Work sent me an iPhone 6 and instructed me that I could take the iPhone 7 in for repair. As I’m due for a new phone in the spring anyway, I’ve wanted to learn to repair these myself but have been too afraid to do so given their cost, I decided there was no time like the present to roll the dice and try to repair it myself. I ordered the replacement parts and a tool kit. One Saturday morning I sat down for the one hour task. Three hours later I was done. It was mostly a success. The one thing that didn’t go well for me was applying the replacement gasket to seal the phone from moisture and dust. I got 80% of it in the proper place. The rest… Let’s just not expose it to must dust or moisture. Anyway, everything still works and I can once again use the iPhone7 and have the 6 as a backup. Nothing like success like that to build your confidence to try to venture in to the unknown and try more do it yourself projects. Like build a home from dirt. 🙂
I think that catches you up on most of the goings on around here.
My plans for November were to aggressively (HA) work toward getting the RV’s moved to their long term parking locations. I rethought that this weekend. As winter is quickly approaching, I want to do what is necessary to protect the water lines I just put in place as we do get freezes here. That means fill in the trench, build insulated structure around the pump and plumbing as well as all the spigots. Those are my goals for November. Will shoot to move the RV’s around in December. Freezes are expected to start in mid to late December.
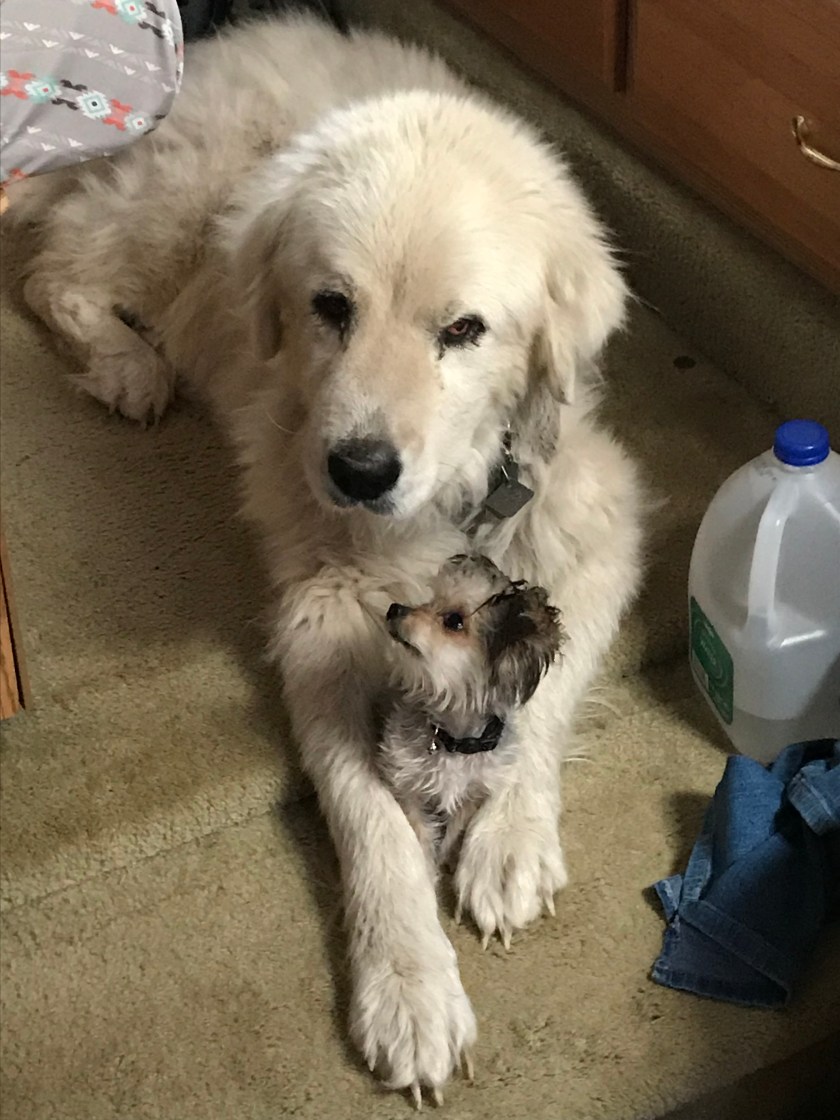
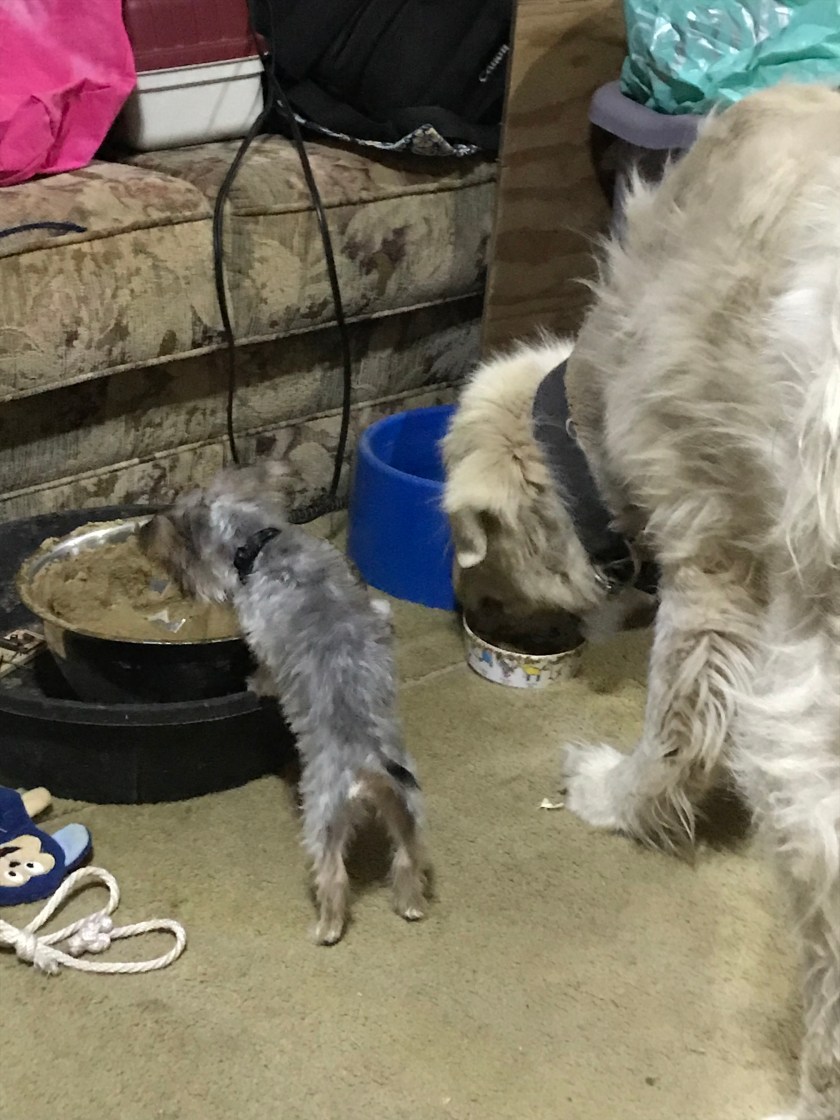
And now for some cute animal photos with a couple of my ugly mug thrown in.
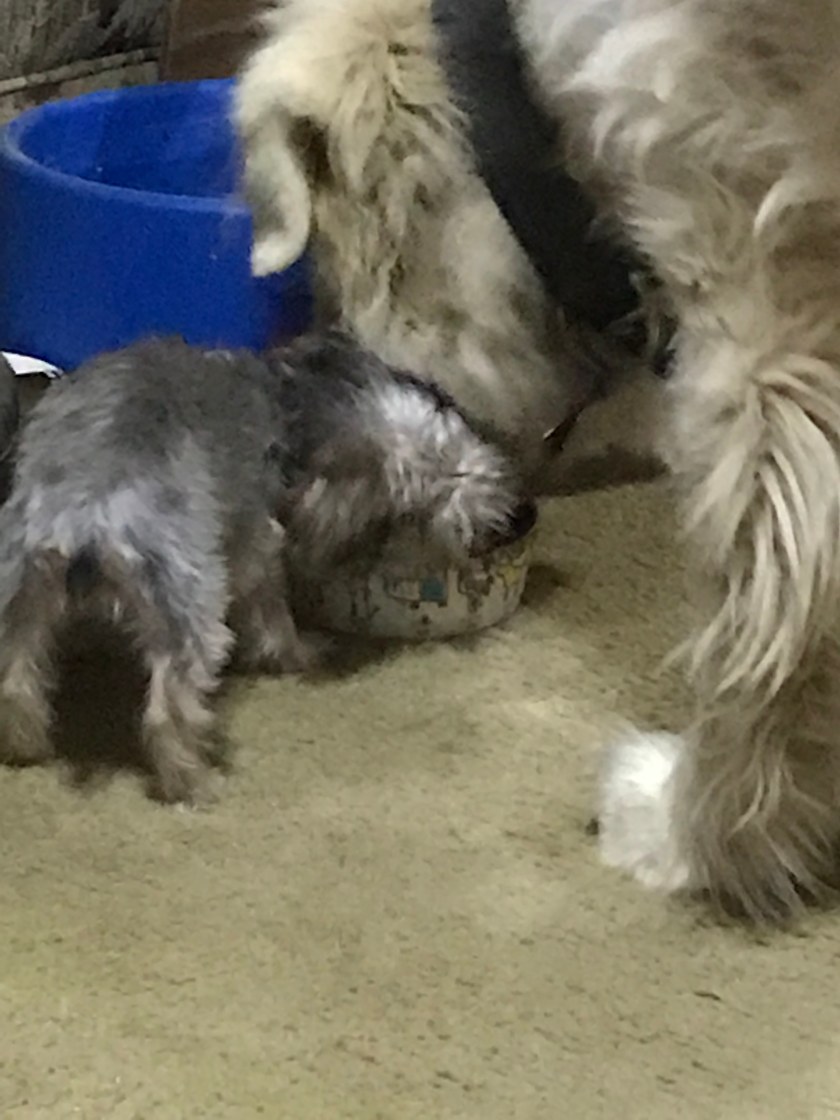
It was funny one evening. We heard bear antagonizing Sasha so we looked up to see Sasha playing with him in a fashion. She was trying to step on him with her front paws. It was like a slow motion version of “whack-a-mole”. We all got a good laugh at it. Sadly we didn’t get any video of it.


If you would have asked me, I could have suggested to you to look for a switch for the water heater. Mine in my trailer was right next to my kitchen sink.
LikeLike