Transitioning away from a conventional American lifestyle.
Building Utility Building Days 1 – 56
July 1 – Aug 25
As promised, a second blog entry in quick succession.
Anyone notice the new title?
Yep, time to finally start putting dirt in bags.
Before I get into the pictures taken of the build process and associated commentary, let me share that during my visit to Michigan, by brother introduced me to Amazon’s echo line and using Alexa to control them via voice commands. As Amazon Prime Days where were soon to follow, I did some research and decided to jump in with both feet. I got an echo, echo dot, and a firestick for the TV. I also got a package of 4 individual outlets that can be controlled via a cloud based app and can be integrated with Amazon’s Alexa. Setup of the Echo devices was pretty easy as was the setup of the outlets. Even the integration between the outlets and Alexa was generally well documented and easy to perform. So, in short order, I have smart speakers that I can control from my phone that takes voice commands. I can issue verbal commands to turn on and off various fans located around the trailer. I can schedule the fans to turn on/off based on time of day or simply set a timer some time in the future to turn the fan (outlet) on or off. If I’m not home, I can use my phone to control the outlets. Pretty cool setup. I’m using fans at the moment, but the possibilities numerous. Rather than continuing to buy outlets, I will likely try to do an Arduino, RaspberryPi, or Pycomm project to control outlets and integrate that with Alexa. Put that on my to-do list for evenings this winter. The purpose of all this is I want to automate the house as much as I can. From being able to turn fans on and off, control the speed of fans, open and close windows, turn lights on and off, and any number of other things I can think of. Think of it. I can automate the operation of fans and windows based on time of day, temperature inside, temperature outside, whether rain is being blown in an open window, and how much battery power we have available. Of course we would be able to override the automation should we wish. Naturally, Alexa would be integrated to provide status and execute any over rides desired via verbal commands and the Alexa phone application. Nerdy I know. Guess where I’m going to test these idea’s out. Yep, the utility building. 🙂
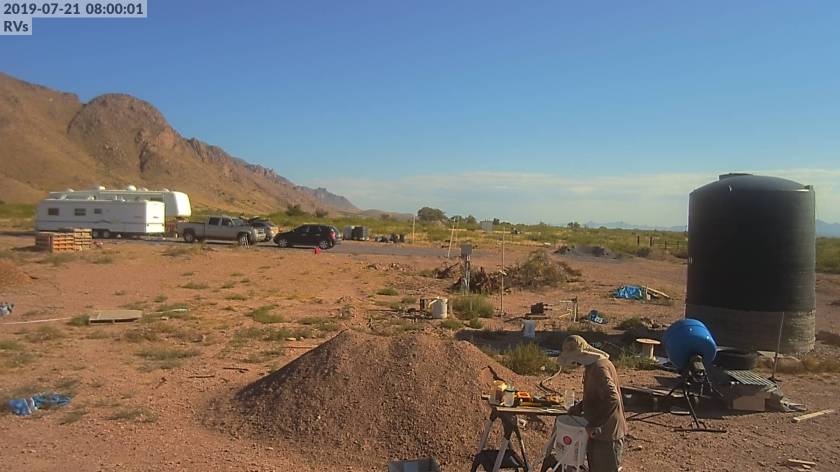
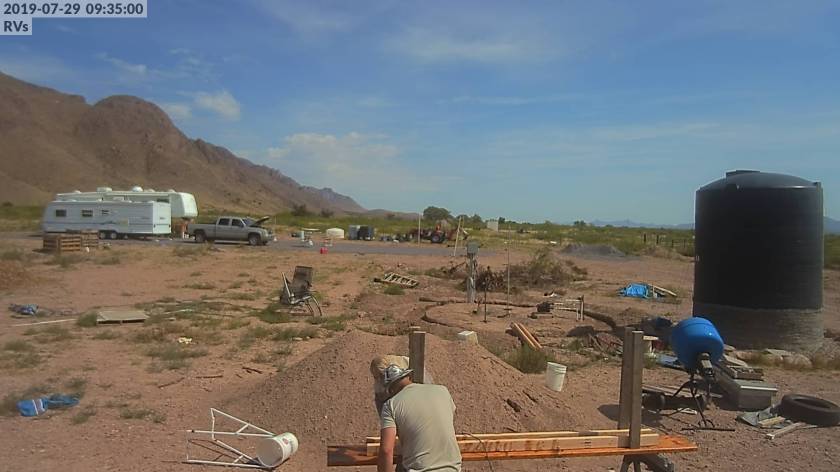
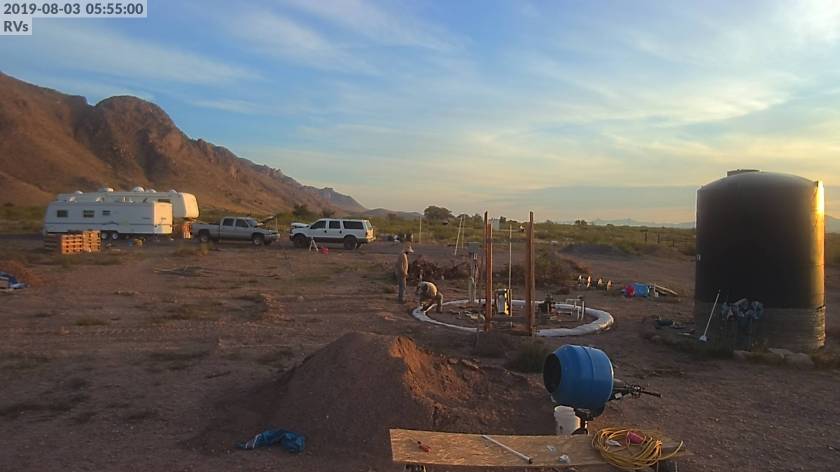
And now, what we’ve been all waiting two years for: shoveling dirt!
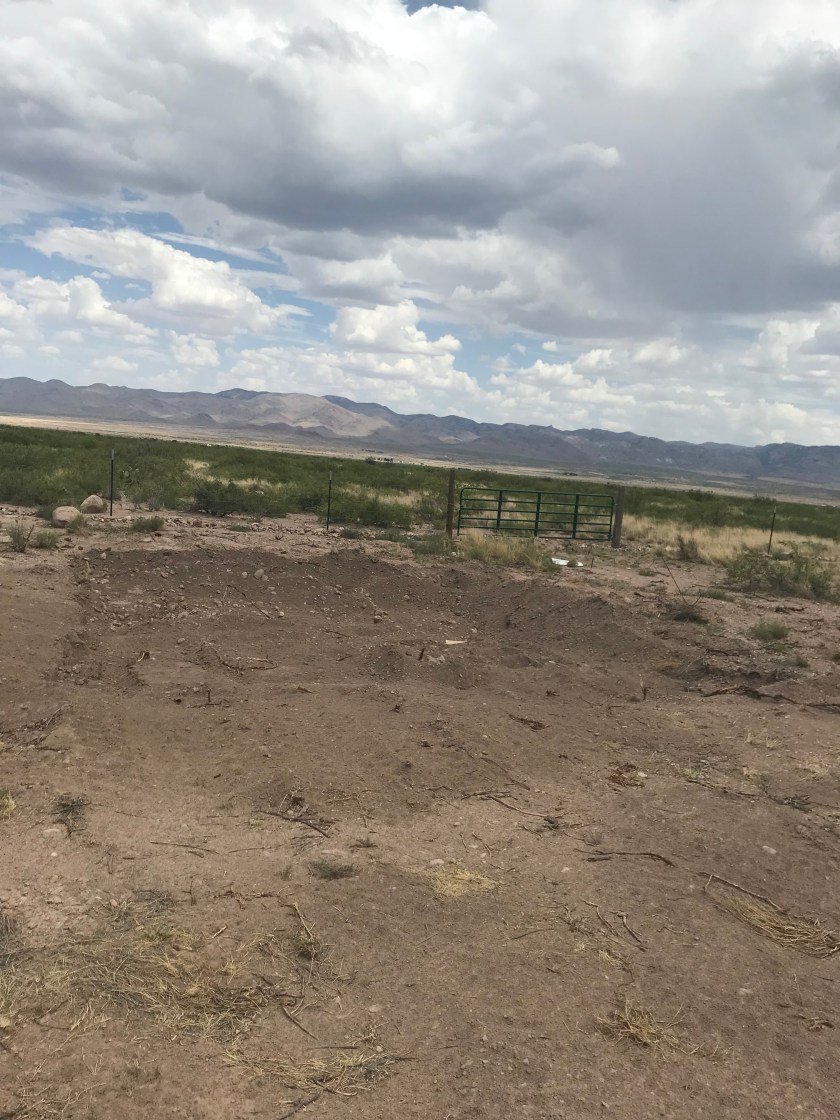
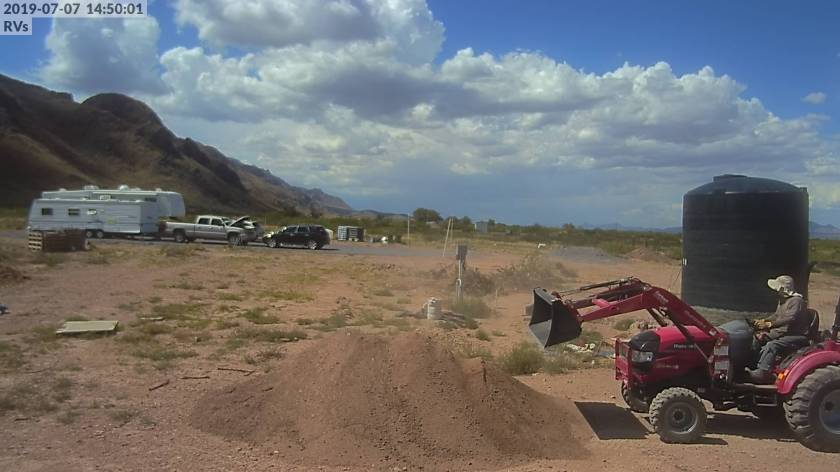
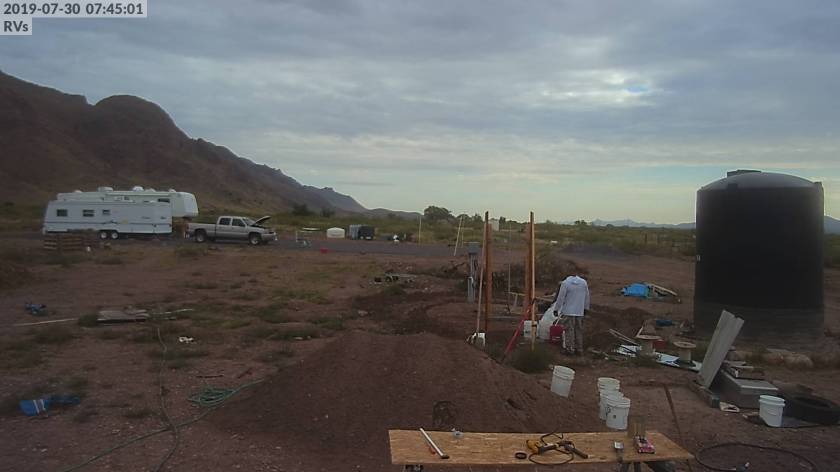
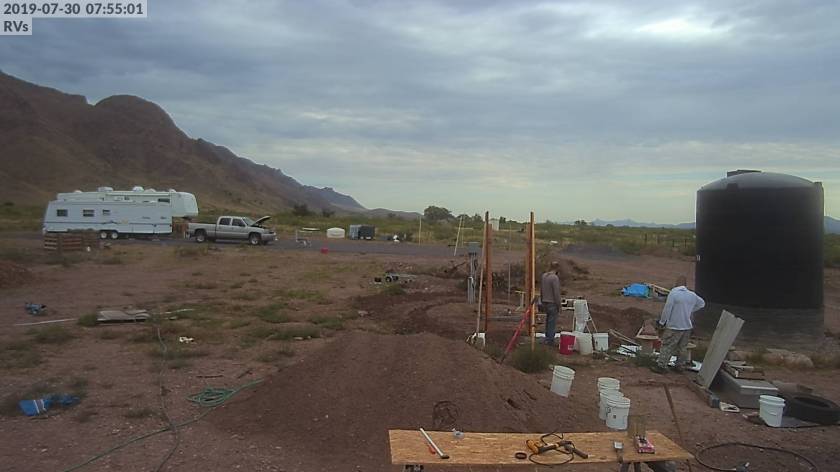
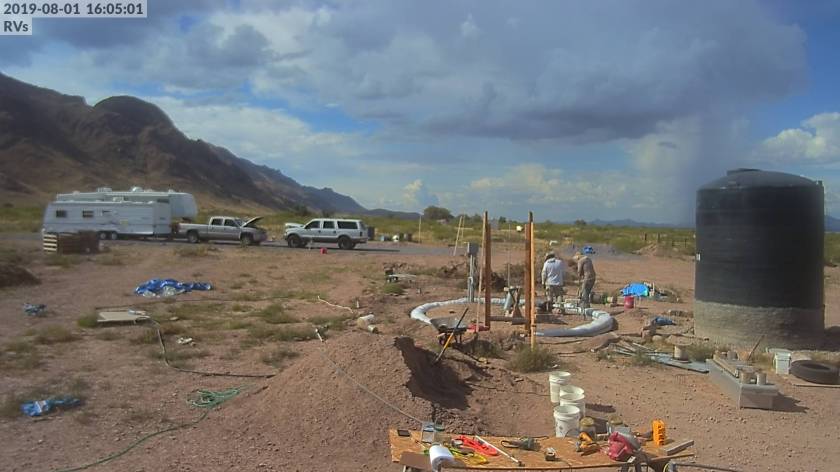
Step one is to dig up some dirt. I’m digging a hole here that in the future I envision building an earthbag + ferro-cement water take that will hold in the neighborhood of 15k-20k gallons of water. If I change my mind, I will have a lot of work to do to fill that hole back in!! That hole is going to get much deeper before I’m done. I first break the dirt loose with the backhoe. Next I scope up the dirt with the front end loader and drive it over to a dirt/rock screen where I dump it and it gets screened as it falls. Why the hell didn’t I think of this a year ago as I was hand screening yards and yards of dirt for the solar system posts, electrical ground rods, filling in the electrical / water trench between the shed, water tank, and trailers??? Would have saved months of effort. It is all about learning and refining the process. I just hope I start learning a bit quicker. 🙂 After the the pile of dirt and rock around the screen reaches a max, I move the screen out of the way, use the tractor to push all the rocks out of the way, and scoop up the now mostly screened dirt and move it to a location near the build site to be used there.
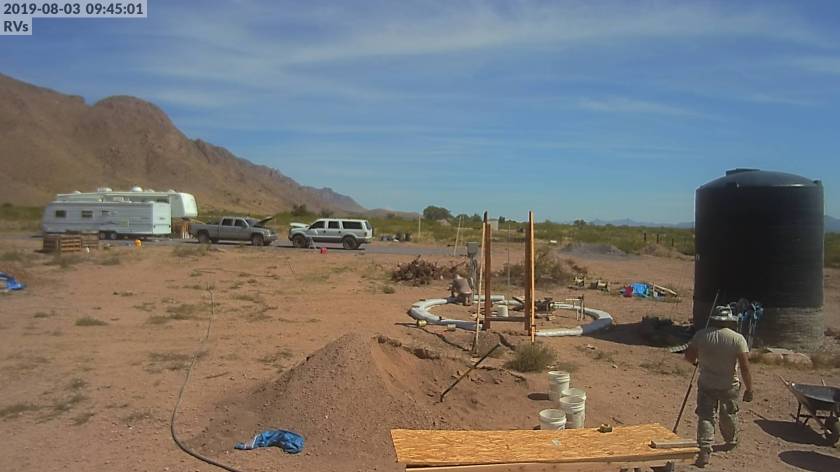
Me dumping a load of mostly screened dirt near the build site.Rachel helping me install the post that will be used as the center of a compass to help locate where the walls need to go.
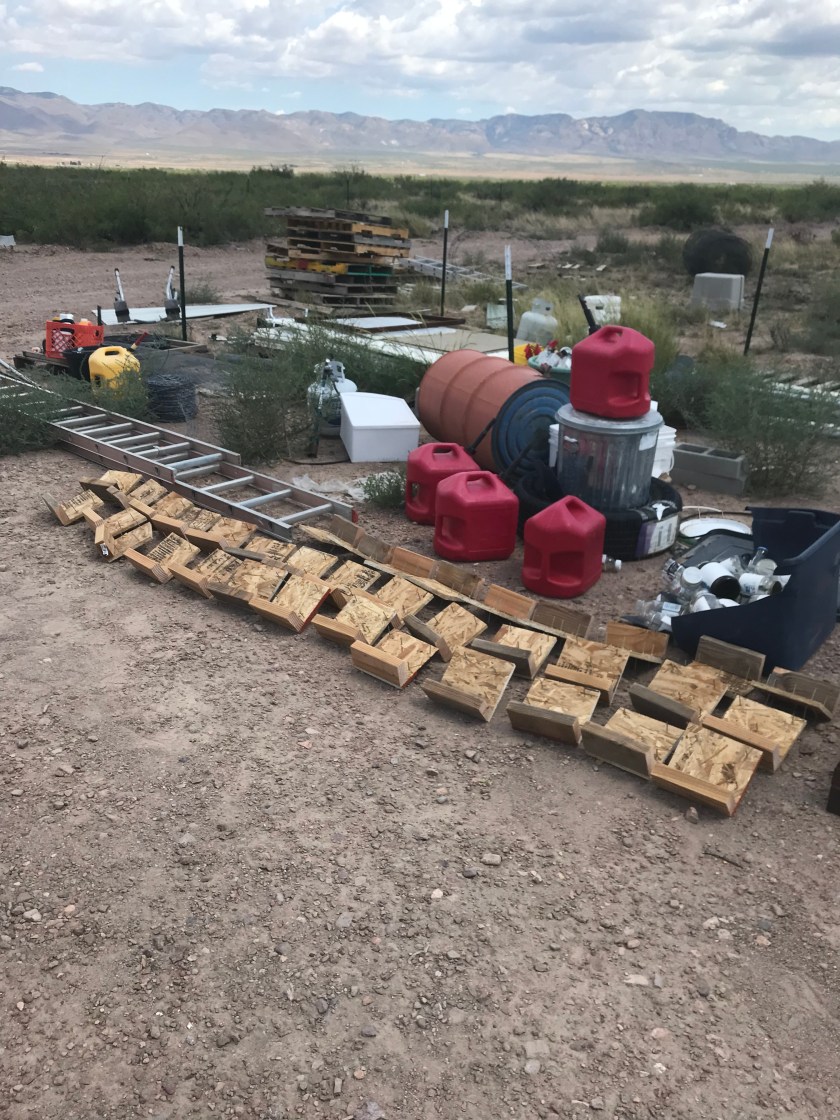
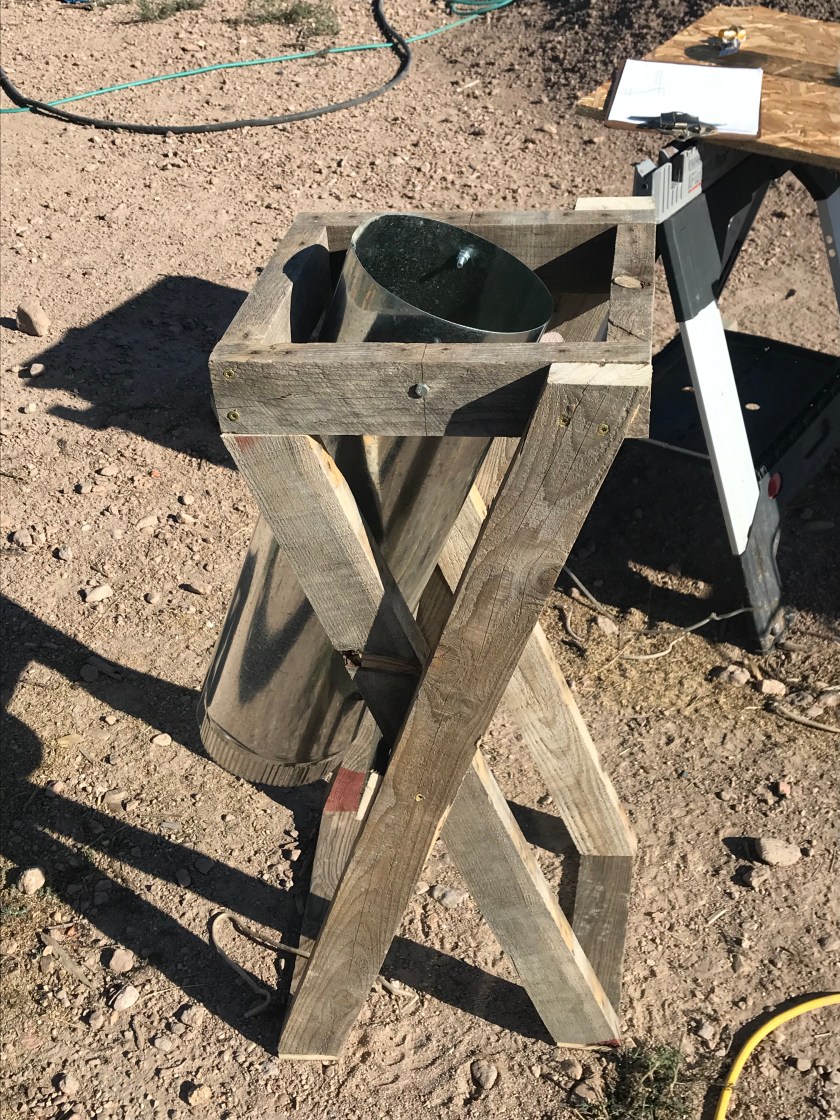
In this picture, I am building a form to make test blocks. Something I should have done months ago so I could take the time and really experiment with various mixes and learn about working with the dirt. I did one with just dirt, one with 10 dirt : 1 lime, one with 10 dirt : 1 cement. I believe that the dirt only was probably acceptable. The dirt + lime performed worse than the dirt only. The dirt + cement was the hardest to break. I also made a test bag with just dirt so I could measure how wide and tall the bags are when they are filled full and then tamped out. They are about 16″ wide and 5 inches tall. That test bag is hard as hell.Tamping the contents of the last test block in the form as previously described.Building my first attempt at a bag stand using scrap metal from an easy up that the wind destroyed shortly after my arrival in 2017. The test blocks are curing under the scrap corrugated metal and tire holding it down.
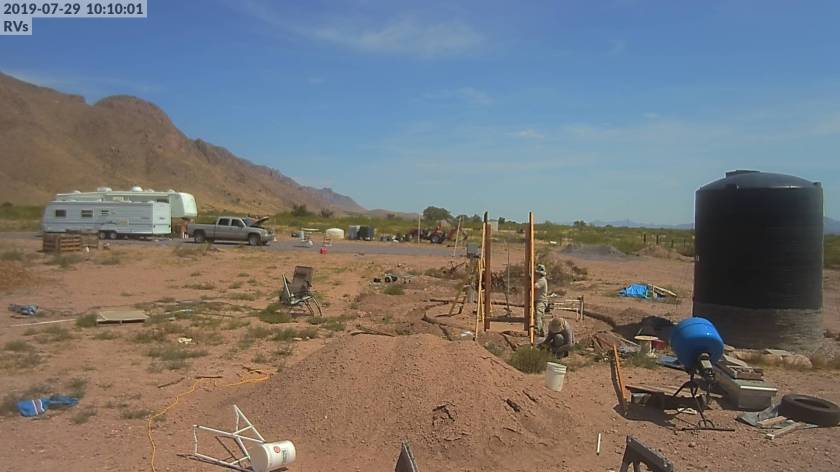
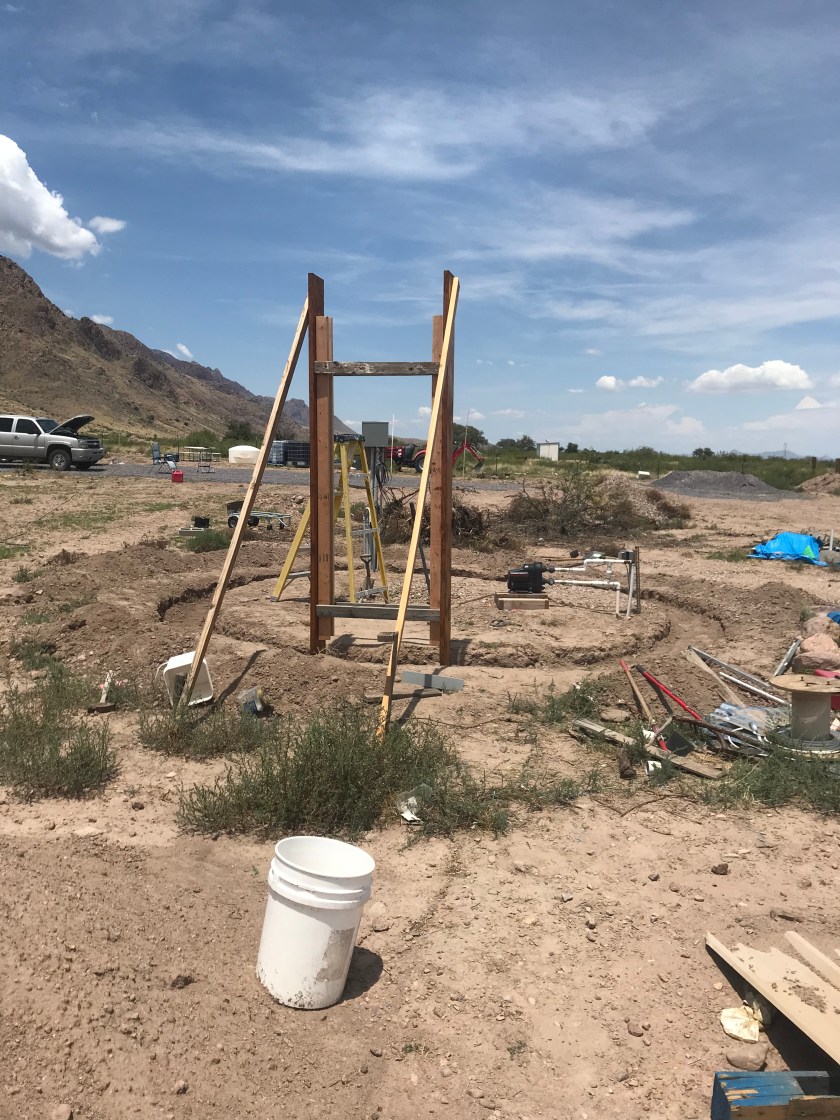
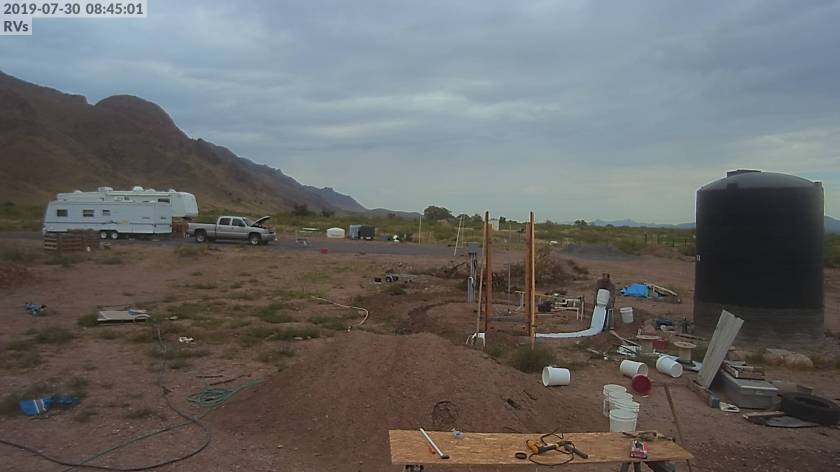
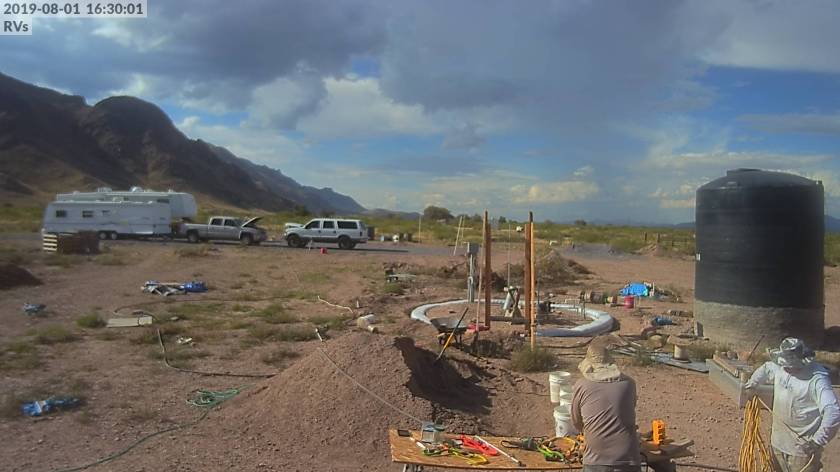
Used the compass and marking paint to mark a circle where I need to dig out the ground for the foundation. Note I misjudged the location of that water spigot. I was thinking I had put it outside the walls of the building. Oops. Maybe I was planning on a smaller building and decided to make it bigger after I put in that spigot. Ya, that’s it!Need to dig out the trench for the foundation by hand so I don’t over dig using the tractor like I did with the solar system. In this photo you see me using a digging bar. I had never seen or heard of one until I moved out here. They are popular out here. They make breaking up this hard ground and working around the rocks in the ground when digging easier. Easier being relative of course. Working that bar is still hard work for a desk jockey like myself. After breaking the dirt loose, I follow up with a flat dirt shovel to scope it out of the trench and work a bit on vertically squaring up the trench walls.Good start on the trench.2×10’s to be used for door and window frames. I’m treating them resist weather and pests.My friend Erik came from California to spend the week and help me out so I took a week of vacation. I hadn’t gotten all the processes and etc worked out and didn’t have everything we needed so we ended up spending a lot of time driving around the area. I think it worked out okay those as he and his wife are considering moving to the area so as we were making our shopping runs, we toured a few areas I’ve never been too and I shared what little knowledge of the area I have acquired over the last couple of years. In this picture we are finishing up the foundation trench getting it close to level. Close enough for me anyway. 🙂Taking a break and discussing next steps.Talking though my ideas of how to prevent the door and window frames from bowing in as we pack dirt in bags up against them. Illustrating my concept of a double I-Beam.Assembling second door frame with 2×4 ibeams and cross braces secured to the ibeams. You can see the first one done and waiting for us by the trench.Attaching the cross braces between the two door frames making sure both sides are standing plumb and are parallel to each other. This task wasn’t too difficult because the four cross braces were all the same length. Bracing the frame front to back so it was vertically plumb and won’t fall over much less move as we are filling bags up against them.Closer photo of the door frame.Making cleats to be used to attach the door and window frames to the bags.Pay no attention to the junk yard. These are the cleats we made. There are nails going in both directions though the OSB (thinner board). Those nails will go into the bags. The 2×4 attached to the OSB will be attached to the door / window frames. The cleats will be installed every third row of bags.
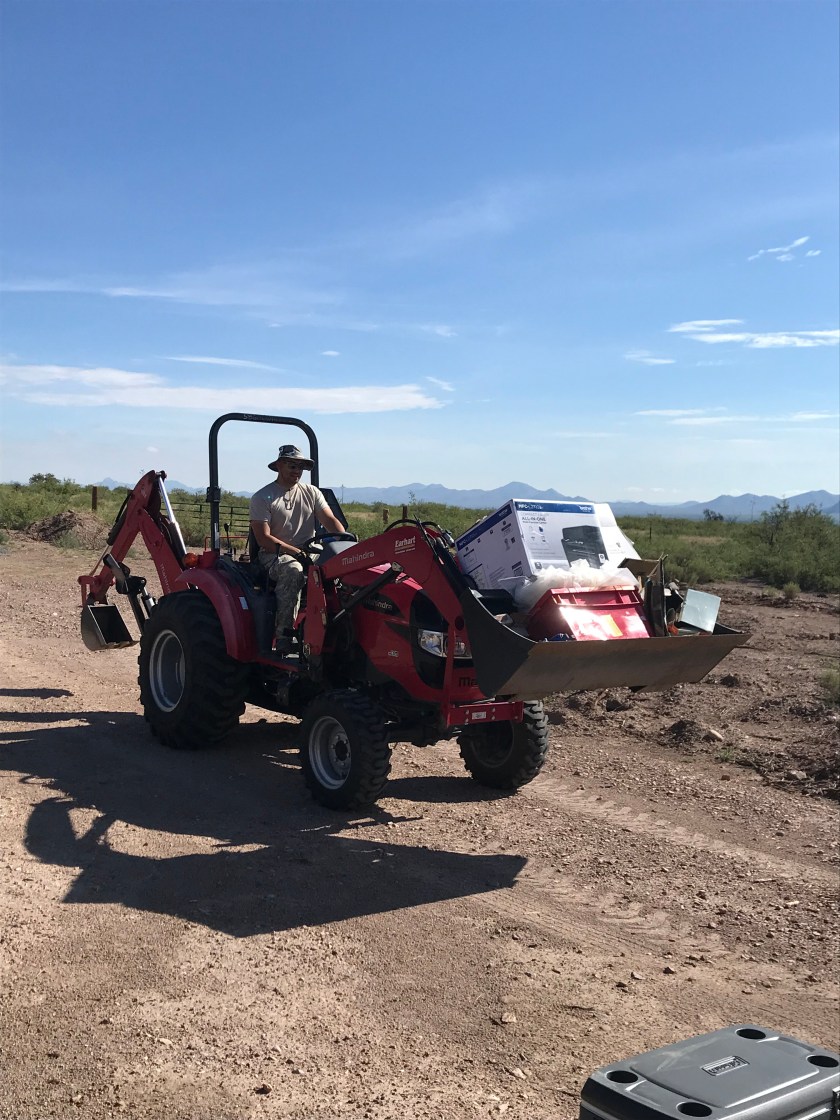
Bags loaded on the bag stand and the bag stand in place ready for dirt. And away we go!While we have both worked on earthbag builds ever so briefly, neither of us has been in the roll of putting dirt in the bags and working the bag stand, so this was definitely a learning experience for something that seemed like it should be so easy.That first day, in addition to all the other aspects that come with building with earth, we did a lot of standing around and discussing what wasn’t working, why, and how we might fix it.Starting to get things figured out. Looks to be about 5 feet done after about 70 minutes. Only about 50 feet left to go. Over 10 more hours for the first row at this rate.To reduce the issues being experience, cut the bag so that the amount (length) of bag on bucket is substantially less and going to use just the bucket without the stand.Traded roles. Erik started filling and I started mixing.Teamwork loading another bag on the bucket.Time to tamp the bags to compact the contents. We stopped about 4 feet short of completing the row. We ran out of bag on the bucket, we were tired, and there was a desire to run to Wilcox to pick Erik’s truck up from the shop. It was threatening rain so I tarped the bags while Erik tamped.The next day we finished that first row in short order using the same methods we were using the last half of the first row the previous day. Once done, we agreed we wanted to improve the method/setup so I could at least do the lower portion of the wall solo if I so choose. We also needed more cement. Before leaving, I needed to make room in the electronics shed so we moved stuff to the far storage shed. To fit stuff in the far storage shed, I needed to get rid of some empty boxes I was keeping “just in case”. Erik was a bit hesitant, but I thought he might enjoy driving the tractor being a city slicker and all. With some coaxing and coaching, we was cruising along. We cleaned up and headed off to Douglas for coffee and lunch at the Blueberry Cafe, then onto Sierra Vista for materials to build a new stand. That all pretty much killed the day.
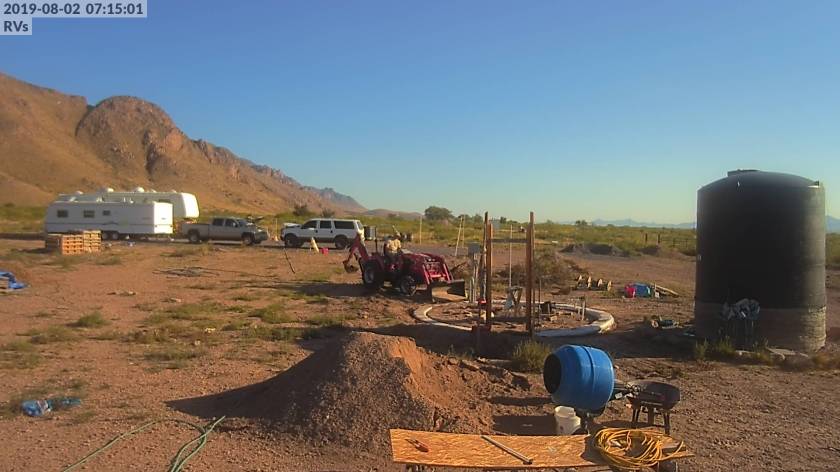
Building stand version 2.0. Bag Stand 2.0. Bag stand 1.0 was using a 5 gallon bucket as a chute which you could just slide the bag over. This one is using a section of duct work which is both longer and narrower. Being narrower, you are able to bunch more bag onto the chute in the same space than you could on the 5 gallon bucket. As it is longer, you have more real estate to bunch bag on the chute. I was able to easily get 55′ of bag on this chute. That is about all it would comfortably hold. Loading bag on the chute of the new stand.Laying a double row of 4 point barbed wire to secure the layers of bags together (prevent them from shifting off each other).
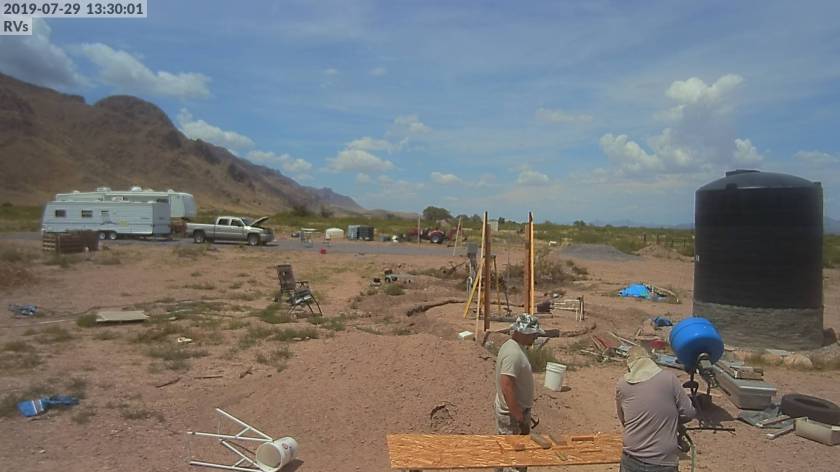
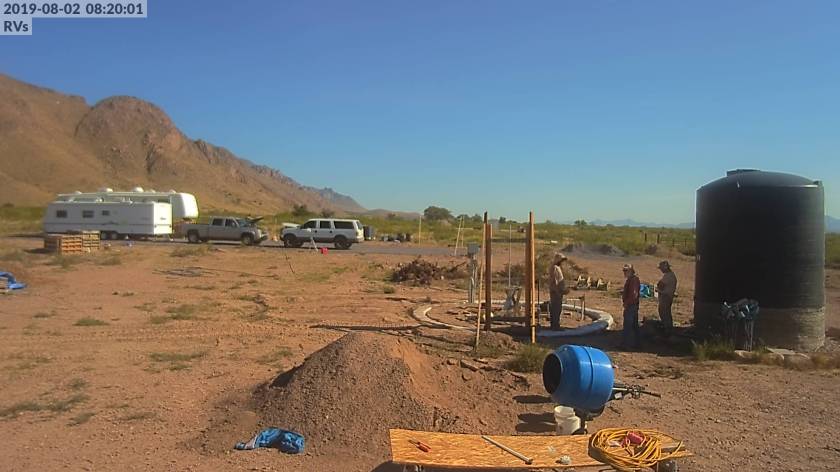
Got Rachel out there helping us. Erik’s mixing, Rachel moving the wheel barrel and scooping dirt using a 5# can out of the wheel barrel and handing them to me to fill the chute.Still struggling with the stand. Taking a moment to evaluate it to see what adjustments are needed.Moving along. The end of the row is getting closer. Made an adjustment to the stand which helped a lot. Then it was just a matter of learning to work it. Rachel scooping dirt out of the barrel for me. Working as a team, we are able to very quickly transfer the dirt from the wheel barrel to the chute.Done bagging. Time to tamp. CRAP!!! Cement in the mix had set. DUH! We weren’t able to really compact the bags on the east side where we started. As you might expect, the further around the circle toward the more recently laid section of bag, the easier it was to tamp. Erik used his military muscle to tamp the bags with set mix in it as much as he could. So, lesson learned. Because we are adding cement to the mix, we can’t wait until we are done laying the row to tamp. Especially when we are using quickcrete that we picked up on the Sierra Vista run. Searching our memories of how the first day went, we are thinking that the cement mix from B&D Lumber in Douglas set more slowly. Cleaning up for the day. You can see the difference in the bags between untamped in the previous photo and this one. You can also see that the west (left) is better tamped than the east (right). You can see the low spot in the front right where I was still struggling with the new stand as we were getting started in the morning. We are all exhausted by this time. We cleaned up and went out for a hard earned dinner at Sky Island.It was very evident working the last couple of rows, all the stuff laying around the build side had to go. There was also the desire to level the ground around the bags to make it easier to get the wheel barrels around the work area. Erik and I back filled around the outside of the bags shoveling dirt by hand, then I had him practice dragging dirt with the front loader to level the ground out a bit.My neighbor Boyd stopped by to check out what we were doing after we finished grading the ground and before we started laying barb wire in preparation of the next row. We were all still sore and fatigued from spending all day doing a full row the previous day, we decided to take a day off from bagging to let our bodies recover a bit more. Perfect time for another Sierra Vista run for misc shopping, lunch, and taking the long way home coming back through Benson so Erik could see that area.Using a laser level before the sun gets too high in the sky and we can’t see it. We mark the bags with measurements from the laser line down to the bags to get an an understanding of where the highs and lows are as well as just how much of a delta there is between the highs and lows.We decided to not kill ourselves again and just targeted doing half a row this day. We got Rachel out helping again and the three of us were working like a well oiled machine and got done with that half circle in just 2 hours. Additional lessons we learned with this half circult is that when using the quickcrete mix were were using, it still took too long to get half a circle done before tamping. We need to tamp after filling every three feet or so. It wasn’t as bad as the previous row, but dirt mix in the bag was still too far into the setting process for complete compression via tamping. We contemplated doing the second half of the circle given how quickly the first went but ultimately decided against it so as not to over fatigue our bodies again. As I had to go back to work the following week and Cheryl was bringing our son Sergei back from Michigan with her, it was clear I wasn’t going to have time to spend on bagging in the coming week or two, Erik decided he would head back home.Sergei at Tom and Alicia’s with one of their outdoor cats kept around for mouse control. I spent much of the time while Sergei was here working long hours for work to catch up from being behind from taking vacation the week before. Cheryl and Rachel were able to keep him busy most of the time with trips to Douglas, Sierra Vista, and Tuscon. However, I did take him out on a ghost tour/hunt in Bisbee. That was a nice Friday night out for the two of us. In processing the audio files of recordings I took on my iphone during the ghost hunt, I swear I found a response to one of our questions that we couldn’t hear there in person but the iphone recorded.
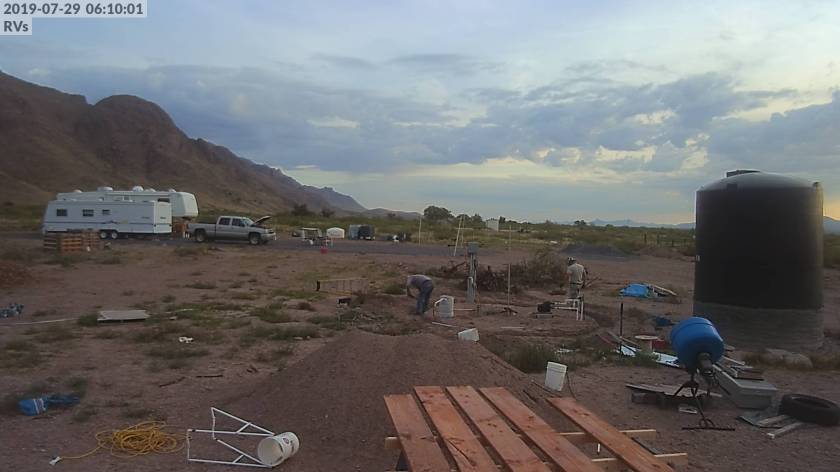
With Cheryl and Rachel gone taking Sergei home, I decided to get back to work to see how much I could reasonable do in a day solo. I’m laying barbed wire here in prep of laying bag.
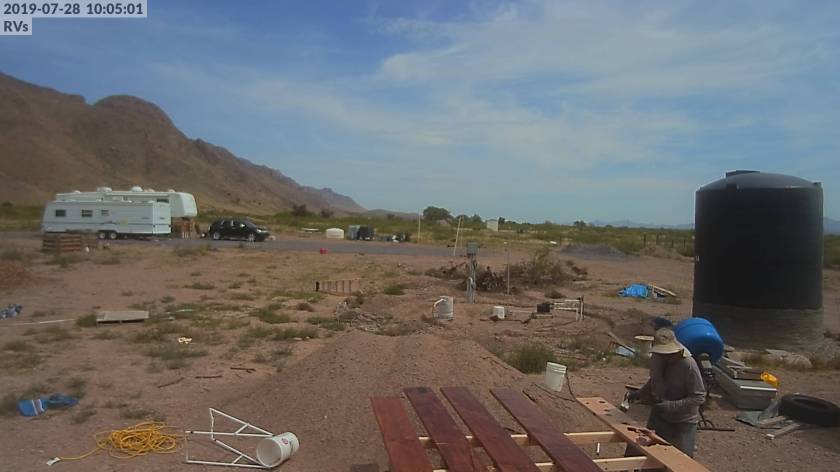
Rather than boring you with all the photos I have of me working, I’ll skip to the end of the workday for me.
Laying the bag nearly complete for the day. Did you know it is far more efficient to put the right amount of dirt in the end of the bag to start with than it is to put too much in then have to dig 1 – 2 5# cans worth of dirt mix back out with a substantially smaller can? I should also note at this point that the nails in the previously discussed cleats are very long and can easily puncture the nylon plate in the bottom of those hiking boots I’m using as work boots. In the future I will be placing a brick between the nails to act as a support for me to step on as I’m working the very end of the back by a door or window frame where a cleat has been installed.
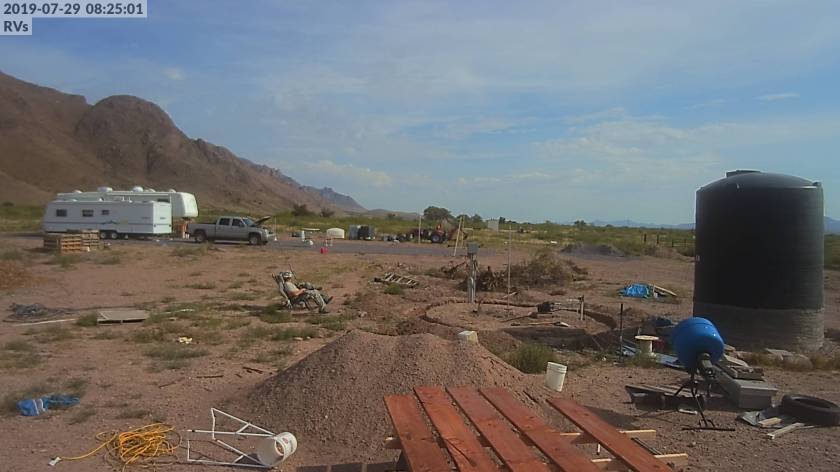
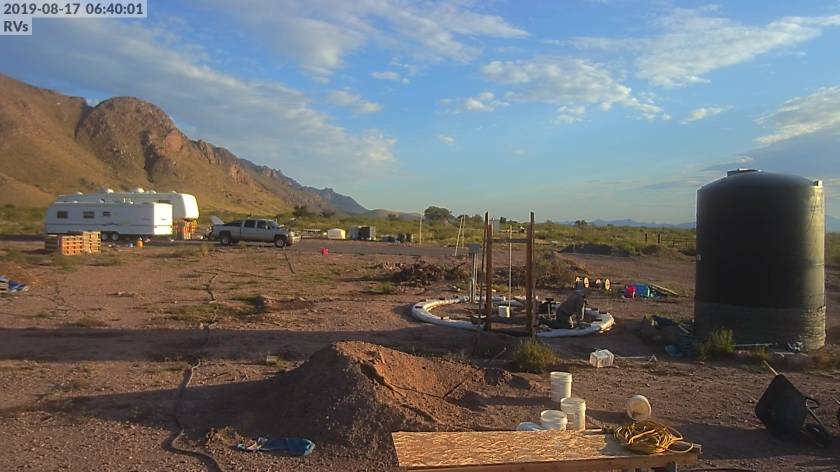
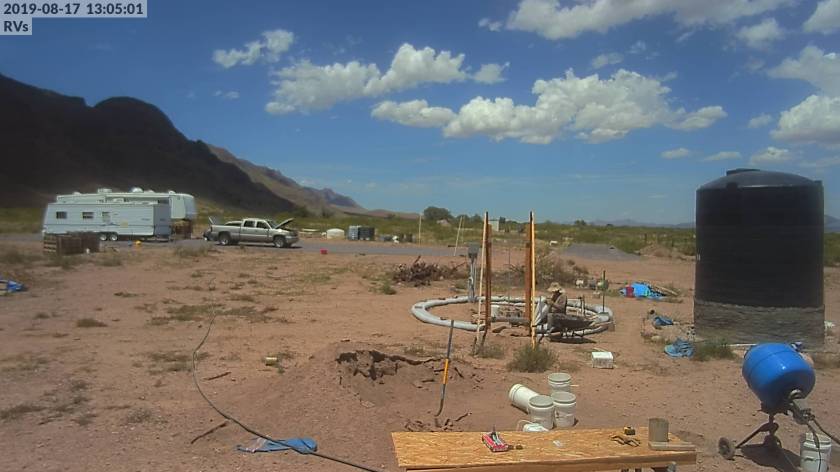
All tamped. Done for the day except maybe just a bit more cleanup. Half circle with some about 10′ of it being less full so as to bring the full circle closer to level took me from 6AM – 2PM (8 hours) with somewhere between 60 – 90 minutes of break time spread throughout the day for a total of about 6.5 -7 hours of labor. I was wiped. I opted not to bag the following day. I think 1/4 circles solo and 1/2 circles with a partner in a single day is reasonable. As we build our muscles and stamina, I imagine we can do more daily. As we start entering cooler season and monsoon season wanes, I hope to be able to be able to bag during the week more frequently. In regards to adjustments made to work solo, I made the mix wetter than is normally used, and I tamped every time I completed filling 3-4 feet of bag. That all worked quite well.Finished row from a different and closer perspective.
An now, for a couple misc pics.
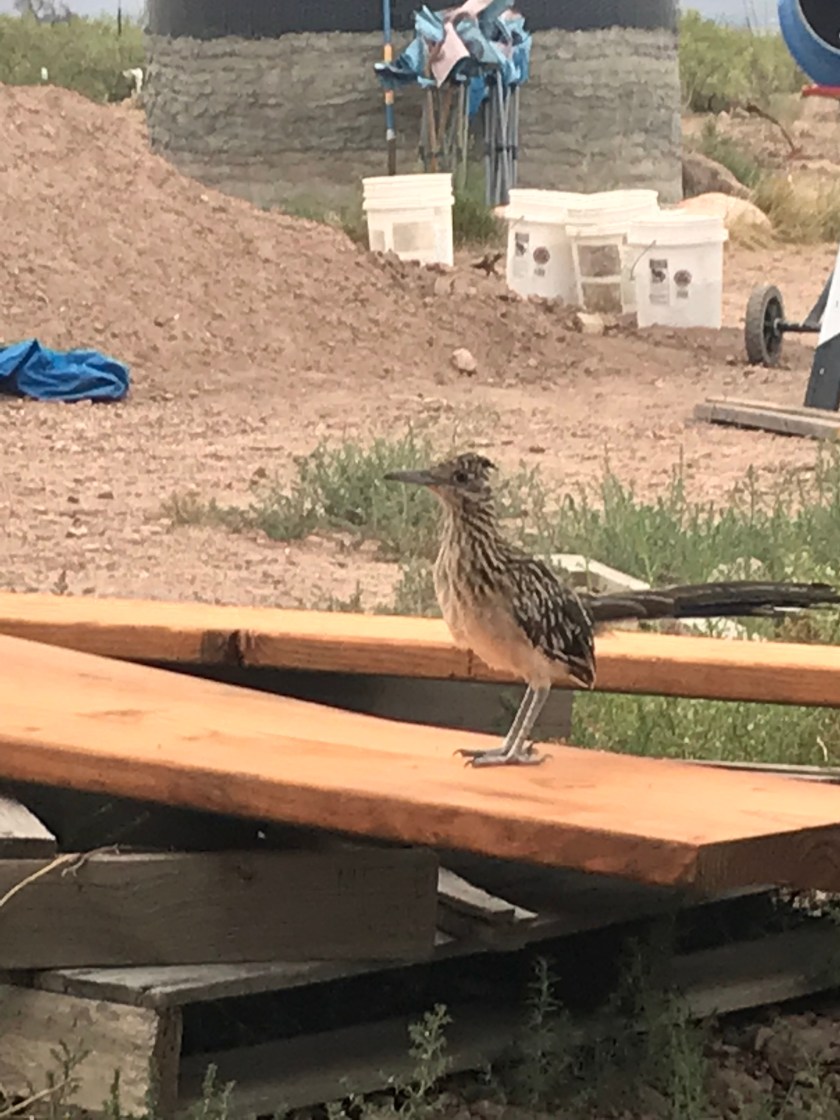
Road runner visiting with us while we were taking one of our breaks.Sasha’s no dummy. She knows where to lay.
I closing, I’ll share another lesson learned (not really “learned”, because I have repeated doing it to varying degrees multiple times since the first).
When transporting a carbonated beverage such as Kombucha from the store to the vehicle when you plan on drinking it on the way home, do not leave it in the child seat of the shopping cart all by itself, hitting darn near every possible bump between the store and your parked vehicle in the back of the lot, then open it while sitting in your vehicle before leaving the store’s parking lot. Bad idea.


Enjoyed reading your updates and seeing the pictures. I chuckled when I noticed that Bears toys are nearly bigger than she is. 🙂
LikeLike